

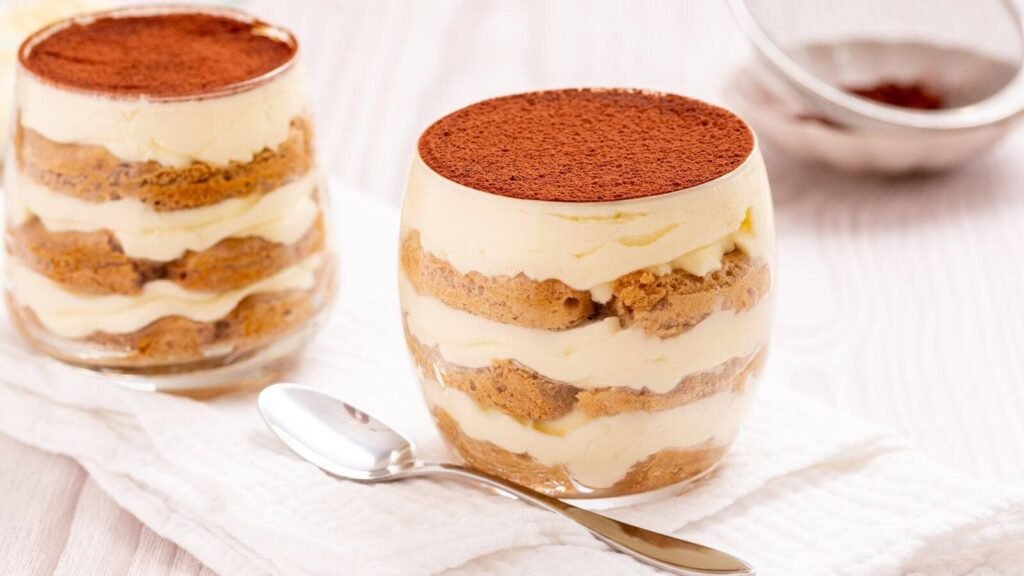

No-Bake Italian Bliss Served in Elegant Individual Glasses!
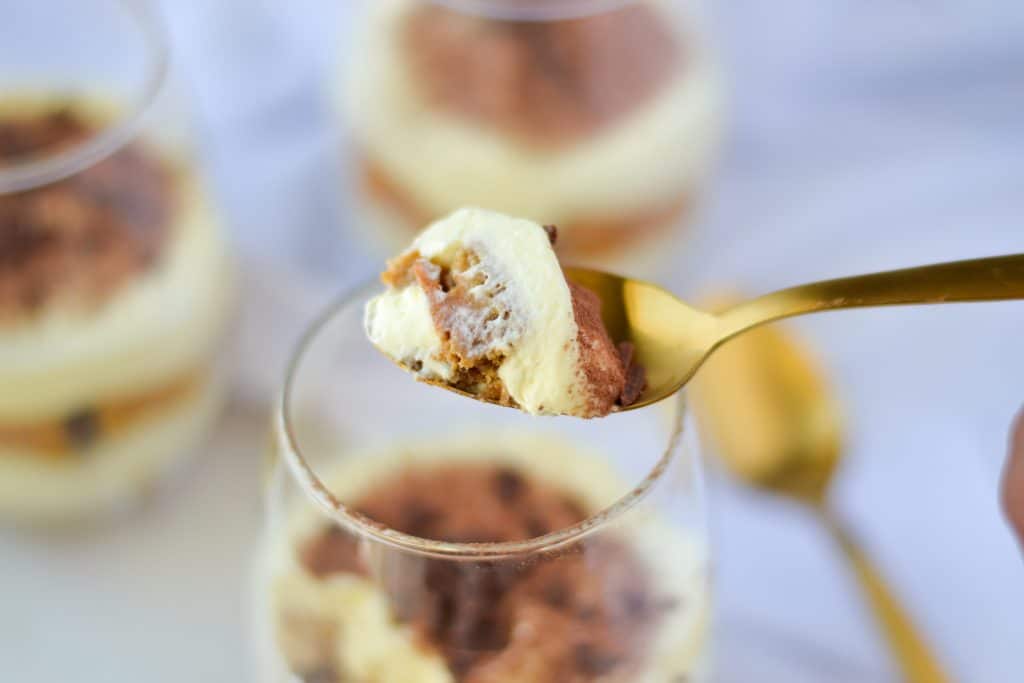
Imagine silky layers of coffee-kissed ladyfingers peeking through crystal-clear glass, topped with clouds of the creamiest mascarpone filling and a dusting of rich cocoa. Every spoonful is pure luxury — and the best part? No oven, no fuss, and portion-perfect for parties!
These creamy tiramisu in a glass desserts are the ultimate make-ahead showstopper. Ready in 30 minutes of hands-on time (plus chilling), they’re restaurant-quality but ridiculously easy at home. Perfect for date nights, holidays, dinner parties, or whenever you need an impressive yet effortless dessert.
Why You’ll Love This Recipe
- Completely no-bake
- Make-ahead friendly (tastes even better the next day!)
- Stunning see-through layers in glasses
- Individual servings = zero fighting over the last bite
- Customizable — easy alcohol-free version
- That dreamy, cloud-like creamy texture everyone raves about


Ingredients (Makes 6 Elegant Glasses)
Use 8–10 oz clear glasses, coupe glasses, or stemless wine glasses for the prettiest presentation.
Coffee Soak
- 1½ cups (360 ml) strong brewed espresso or coffee
- ¼ cup (50 g) granulated sugar
- 3 Tbsp Kahlúa, Marsala, or rum (optional but dreamy)
Creamy Mascarpone Filling
- 1 cup (240 ml) heavy whipping cream (cold)
- 8 oz (226 g) mascarpone cheese (room temperature)
- ½ cup (60 g) powdered sugar
- 1 tsp pure vanilla extract
- Pinch of salt
To Assemble & Finish
- 24–30 ladyfingers (savoiardi biscuits)
- Unsweetened cocoa powder (for generous dusting)
- Dark chocolate shavings
- Optional garnish: fresh raspberries + mint leaves
Step-by-Step Instructions
- Make the Coffee Soak Brew your coffee, stir in sugar until dissolved, then add liqueur if using. Set aside to cool completely (you can even chill it).
- Whip the Dreamy Cream In a chilled bowl, beat heavy cream, powdered sugar, and vanilla until stiff peaks form (about 2–3 minutes). In a separate bowl, gently whisk mascarpone with salt until smooth. Fold the whipped cream into the mascarpone with a spatula until silky and combined — don’t overmix!
- Quick Dip & Layer Dip each ladyfinger into the cooled coffee soak for just 1–2 seconds (they soften fast!). Break to fit your glass if needed. Layer: soaked ladyfingers + big spoonful of cream. Repeat 2–3 times, ending with a thick layer of cream on top.
- Dust & Chill Generously dust with cocoa powder through a fine sieve. Cover glasses and refrigerate at least 4 hours (overnight is magic).
- Garnish & Serve Right before serving, add chocolate shavings, a berry or two, and a mint sprig. Serve chilled!

Serving Suggestions (Pinterest-Worthy!)
- Classic: Just cocoa + chocolate shavings
- Berry Beautiful: Fresh raspberries or strawberries
- Fancy: Gold spoons + mint leaves
- Party Platter: Arrange on a marble tray for wow factor
Individual Tiramisu Cups Recipe
Pro Tips for Tiramisu Success
- Don’t oversoak the ladyfingers — they’ll turn mushy. Quick dip is key!
- Mascarpone must be room temperature for smooth mixing.
- Chill your bowl and whisk for the whipped cream — it whips faster and firmer.
- Make 1–2 days ahead — the coffee flavor deepens beautifully.
- Alcohol-free? Skip the liqueur and add an extra splash of vanilla or espresso.
- Want it extra creamy? Add 2 Tbsp more mascarpone.
There you have it — the most creamy tiramisu in a glass you’ll ever make at home! Elegant, effortless, and guaranteed to disappear fast.
Who’s making these for their next gathering? Tag a friend who needs this recipe and pin it for later!
