

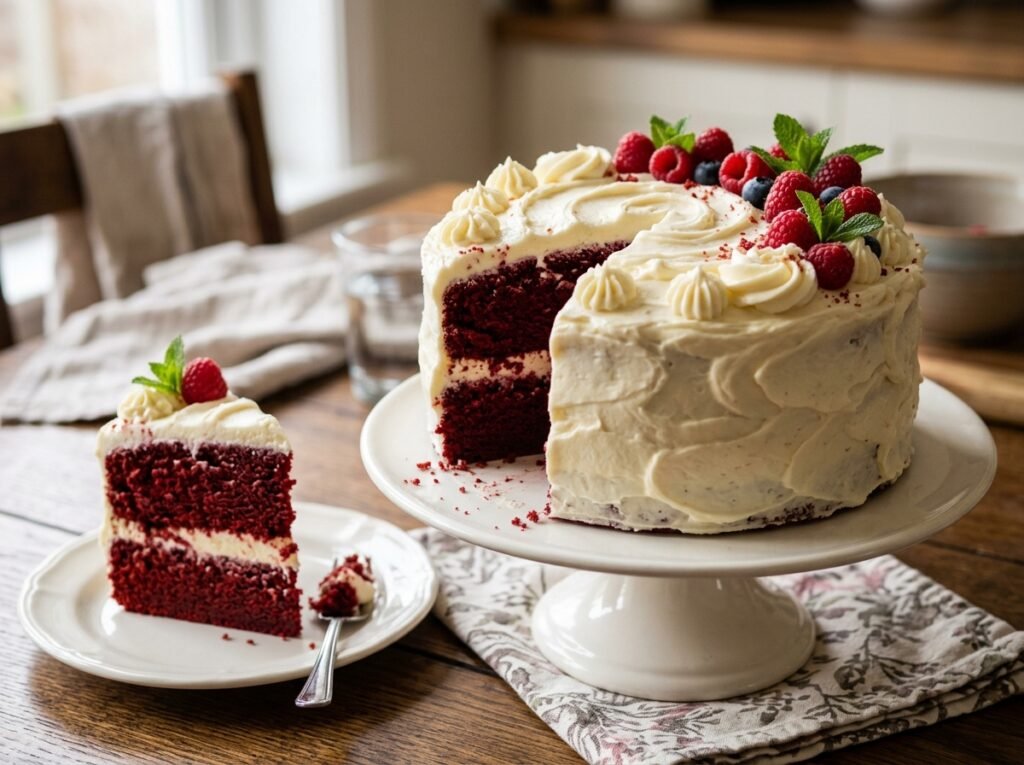
The Red Velvet Cake is a masterpiece of subtle chemistry and bold aesthetics. Often misunderstood as a simple chocolate cake with food coloring, a true Red Velvet is defined by its unique crumb—a delicate balance between a vanilla sponge and a cocoa cake. The interaction of buttermilk and vinegar creates a “velvet” texture that is tight, fine, and incredibly soft.
Topped with a tang-forward, luscious Cream Cheese Frosting, this cake provides a perfect contrast: the deep, earthy sweetness of the sponge meets the bright, silky smoothness of the cream.
Why You’ll Love This Recipe
- That Signature Texture: The use of oil and buttermilk ensures the cake remains moist for days, with a crumb that practically melts on the tongue.
- The “Tantalizing” Flavor: It’s not quite chocolate and not quite vanilla; it’s a sophisticated, tangy flavor profile that is entirely its own.
- The Visual Impact: The deep scarlet interior against the snow-white frosting makes it a stunning centerpiece for any celebration.
- Perfect Balance: The cream cheese frosting cuts through the richness of the cake, making it light enough for a second slice.
Key Ingredients Overview
- Buttermilk: This is the heart of the cake. It provides the acidity needed to react with the baking soda for a high rise and a tender crumb.
- Natural Cocoa Powder: You only need a small amount. In the “old days,” the acidity of the cake would turn natural cocoa slightly reddish; today, we use a touch of food coloring to enhance that effect.
- White Vinegar: Added at the very end to trigger a final chemical reaction with the baking soda, giving the cake its fluffy “lift.”
- Full-Fat Cream Cheese: For the frosting, always use block-style cream cheese (not the spreadable kind) to ensure it holds its shape.
Step-by-Step Instructions
- The Dry Mix: Whisk together cake flour, sugar, a little cocoa powder, baking soda, and a pinch of salt.
- The Wet Emulsion: In a separate bowl, whisk together oil, room-temperature eggs, buttermilk, vanilla, and your red food coloring.
- The Merge: Gradually add the dry ingredients to the wet. Mix until just combined. Over-mixing at this stage will make the cake tough rather than velvety.
- The Vinegar Kick: Stir in the white vinegar last. You’ll see tiny bubbles form—this is the secret to the cake’s lightness.
- The Bake: Divide into two or three circular tins. Bake at 170°C for 30–35 minutes. Let them cool completely before even thinking about frosting.
- The Frosting: Beat cold cream cheese and softened butter together until smooth. Gradually add powdered sugar and a splash of vanilla.
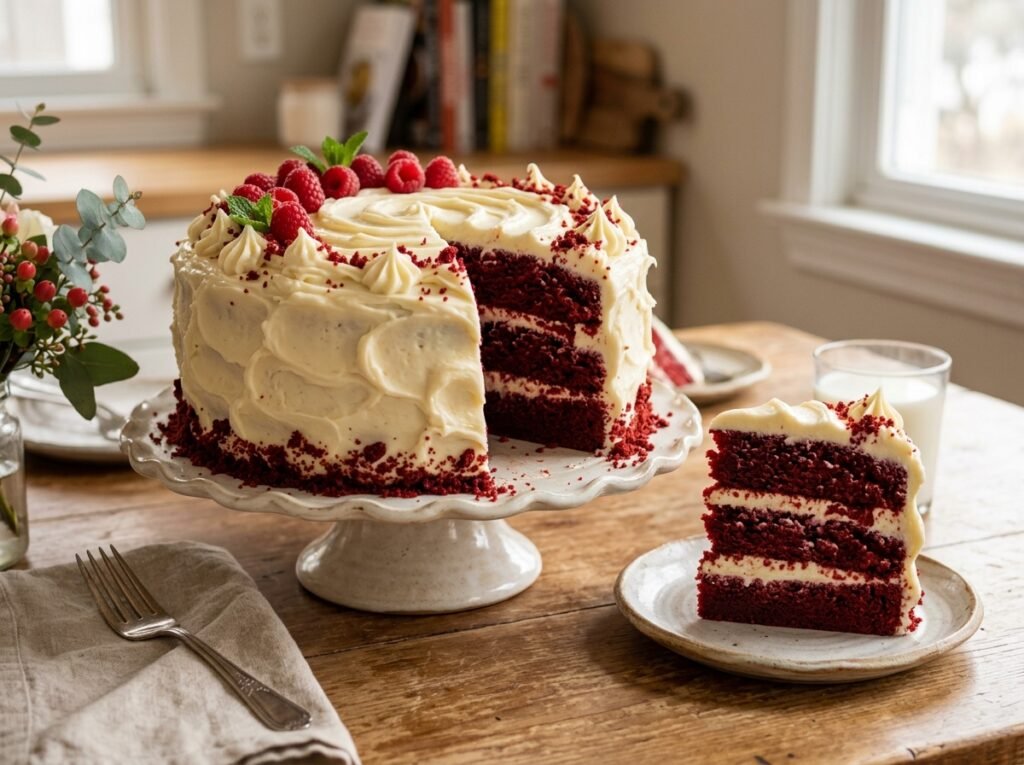
- The Assembly: Place one layer down, spread a thick layer of frosting, and repeat. Use a “crumb coat” (a thin layer of frosting) first, chill it, then apply the final decorative layer.
- The Garnish: Crumble a little bit of the cake off-cuts over the top for that classic bakery look.
Expert Tips for Success
- Cake Flour is Better: While all-purpose flour works, cake flour has less protein, which helps achieve that ultra-fine “velvet” texture.
- Room Temp is Key: Ensure your eggs and buttermilk are at room temperature so they emulsify properly with the oil.
- Don’t Over-Color: If using gel coloring, a little goes a long way. Too much liquid food coloring can sometimes alter the taste and texture of the batter.
Variations & Substitutions
- The Cupcake Version: This batter makes incredible cupcakes. Bake for 18–20 minutes and pipe the frosting in high swirls.
- Blue Velvet: Simply swap the red coloring for royal blue for a striking, modern twist.
- Beetroot Naturalist: For a natural color, some bakers use beet puree, though the color will be a more “earthy” maroon than bright scarlet.
Storage & Serving
- Serving: Because of the cream cheese, this cake should be kept in the fridge, but it tastes best if brought to room temperature for 20 minutes before serving.
- Fridge: Stays fresh and moist for 4–5 days if covered.
- Freezing: The cake layers (un-frosted) freeze beautifully. Wrap them tightly in plastic wrap and they will last for up to 3 months.
The Recipe Card
- Prep Time: 25 mins
- Cook Time: 35 mins
- Total Time: 1 hour (+ cooling)
- Yield: 1 Double-Layer 9-inch Cake
Ingredients:
- Cake: 350g Cake Flour, 300g Sugar, 1 tsp Baking Soda, 1 tsp Salt, 1 tbsp Cocoa Powder, 350ml Vegetable Oil, 250ml Buttermilk, 2 Eggs, 1 tsp White Vinegar, 1 tsp Vanilla, Red Gel Food Coloring.
- Frosting: 450g Cream Cheese (cold), 115g Butter (soft), 500g Powdered Sugar, 1 tsp Vanilla.
Instructions:
Whisk dry ingredients. In another bowl, whisk oil, eggs, buttermilk, vanilla, and color. Combine wet and dry, then stir in vinegar. Bake in two tins at 170°C for 30–35 mins. For frosting, beat cream cheese and butter, then add sugar and vanilla. Frost the cooled cake layers and chill before serving.
