

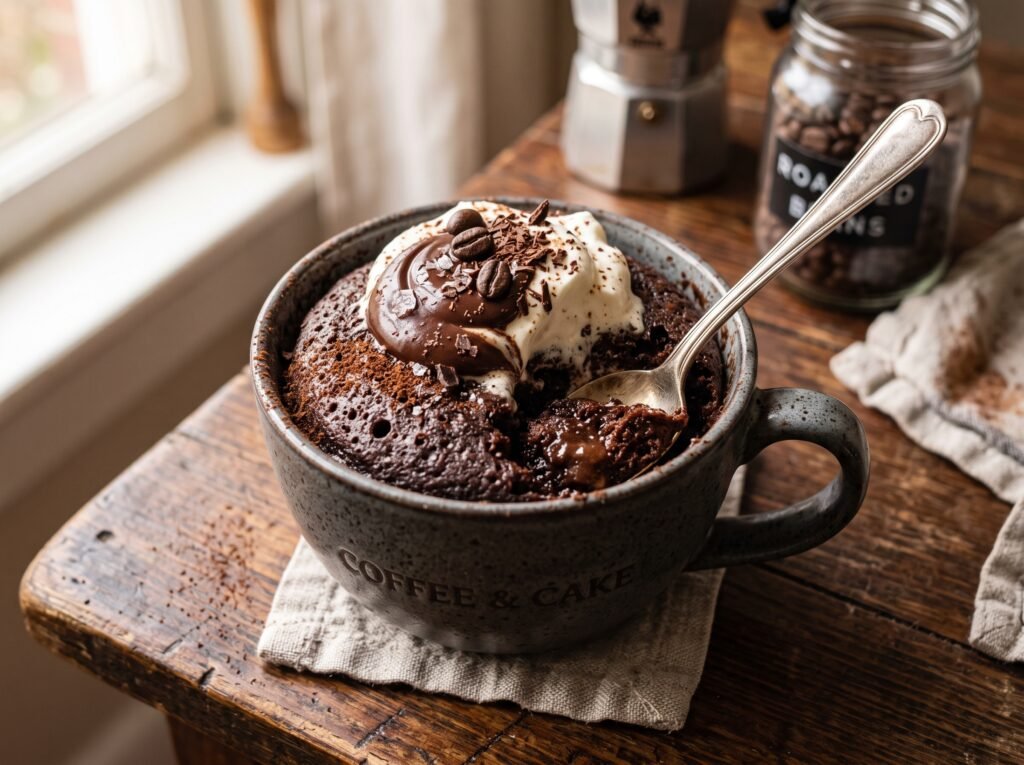
When you need an instant, warm dessert without dirtying a sink full of dishes, a Dark Chocolate Espresso Mug Cake delivers maximum satisfaction. Dark cocoa powder combined with espresso powder creates a deeply intense chocolate flavor, while a hidden cluster of dark chocolate chips in the center melts into a molten core as it microwaves.
The secret to a mug cake that stays soft and fudgy rather than turning rubbery is Skipping the Egg and Adding Melted Butter. Whole eggs add too much protein structure for a tiny single-serve microwave cake, often creating a spongy, rubbery texture. Relying instead on milk, melted butter, and a touch of baking powder yields a tender, brownie-like crumb.
Why You’ll Love This Quick Dessert
- Incredible 5-Minute Speed: Mixes directly in your favorite mug and cooks in about 60 seconds.
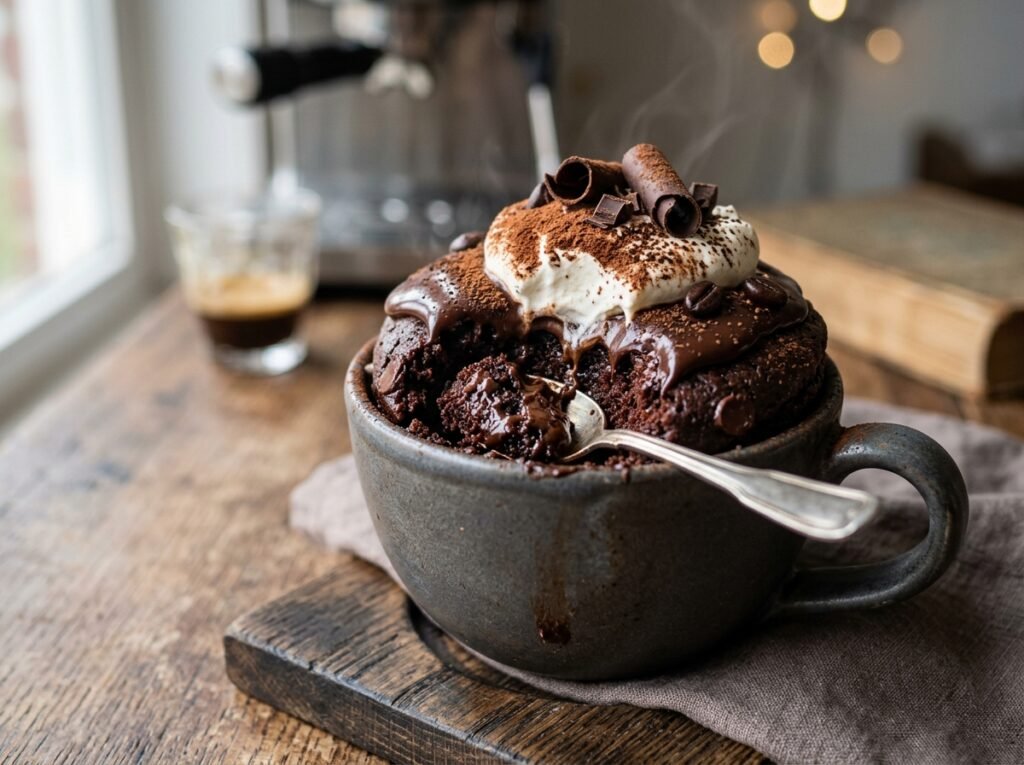
- Molten Chocolate Core: Dropping dark chocolate chips into the batter creates an oozing fudge center.
- Intense Mocha Flavor: Espresso powder doesn’t make it taste like coffee—it acts as a flavor amplifier for the dark cocoa.
- Eggless & Perfectly Portioned: Satisfies late-night sweet cravings without leaving leftovers to tempt you.
Key Ingredients Overview
- Dutch-Processed Dark Cocoa Powder: Provides a smooth, deep dark chocolate base without harsh bitterness.
- Instant Espresso Powder: Magnifies the rich notes of the cocoa.
- Melted Butter & Milk: Creates a rich, moist crumb that stays soft as it cooks.
- Dark Chocolate Chips or Chunks: Sinks into the center during microwaving to form a molten lava pocket.
Step-by-Step Instructions
1.The Dry Ingredient Whisk:2 min.
In a 12-ounce microwave-safe ceramic mug, whisk together 3 tablespoons all-purpose flour, 2 tablespoons dark cocoa powder, 2 tablespoons granulated sugar, ½ teaspoon instant espresso powder, ¼ teaspoon baking powder, and a pinch of salt until well combined.
2.The Liquid Fold & Molten Core:1 min.
Add 3 tablespoons whole milk, 1 tablespoon melted butter (or vegetable oil), and ¼ teaspoon vanilla extract. Stir with a fork or small spatula until a smooth batter forms. Drop 1 tablespoon of dark chocolate chips directly into the center of the batter (do not stir them in).
3.The Microwave Flash Cook:1 min.
Microwave on HIGH for 60 to 70 seconds (based on a 1000W microwave). The cake should rise near the top and look set on the surface while remaining slightly glossy in the center.
4.The Cool & Garnish:1 min.
Let the mug cake rest for 1 to 2 minutes to cool slightly. Top with a scoop of vanilla ice cream, whipped cream, or a dusting of powdered sugar and enjoy warm!
Expert Tips for Success
- Don’t Overcook: Microwaves heat rapidly! Overcooking by even 15 seconds will dry out the cake. Pull it out when the edges look set and the very center still looks a bit shiny.
- Use a Wide 12-Ounce Mug: To prevent batter from overflowing onto your microwave glass, use a mug with a capacity of at least 12 ounces (fill it no more than half full).
- Adjust Espresso Intensity: If you love a distinct mocha coffee flavor, increase the espresso powder to 1 full teaspoon!
The Recipe Card
- Prep Time: 3 mins
- Cook Time: 1 min
- Total Time: 4 mins
- Yield: 1 Single-Serve Mug
Ingredients:
- The Dry Ingredients: 3 tbsp All-Purpose Flour, 2 tbsp Dark Cocoa Powder, 2 tbsp Granulated Sugar, ½ tsp Instant Espresso Powder, ¼ tsp Baking Powder, Pinch of Salt.
- The Wet Ingredients: 3 tbsp Milk, 1 tbsp Melted Unsalted Butter (or Oil), ¼ tsp Vanilla Extract.
- The Molten Center & Topping: 1 tbsp Dark Chocolate Chips or Chunks, Vanilla Ice Cream or Powdered Sugar (optional).
Instructions:
Whisk flour, dark cocoa, sugar, espresso powder, baking powder, and salt directly inside a 12-oz microwave-safe mug. Stir in milk, melted butter, and vanilla extract until smooth. Push dark chocolate chips into the center of the batter. Microwave on HIGH for 60–70 seconds. Let cool for 1–2 minutes, top with vanilla ice cream, and serve warm.
