

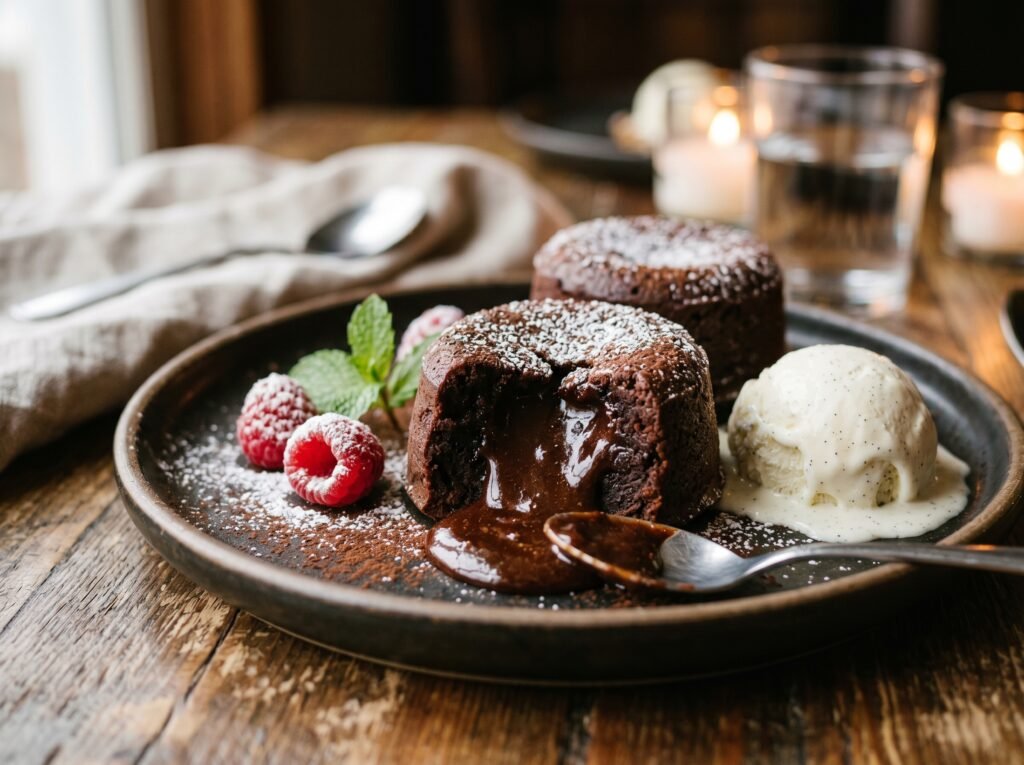
Few sweet treats evoke as much pure table-side drama as a flawless Chocolate Lava Cake. Also known as petit gâteau or molten chocolate cake, this modern dessert classic offers a spectacular contrast of temperatures and textures. It presents a deeply rich, fully baked chocolate cake exterior that gently transitions into an intensely decadent, warm, liquid chocolate center that cascades onto the plate at the first slide of a spoon. If your homemade lava cakes turn out completely solid like a standard muffin, or collapse into a raw, structural puddle upon unmolding, it all comes down to chocolate fat percentages and the precision physics of heat transfer.
The culinary magic at play here is the Time-and-Temperature-Dependent Liquid Core Strategy. Unlike an underbaked cake which is simply raw flour batter, a true chocolate lava cake leverages a high ratio of chocolate and butter relative to a very minimal amount of flour. When baked at a high oven temperature, the extreme heat cooks the outer walls of the cake rapidly, setting the egg and flour proteins into a stable, porous cake structure. Meanwhile, the heat does not have enough time to reach the center of the ramekin. The interior never exceeds $70^\circ\text{C}$ ($160^\circ\text{F}$), meaning the egg yolks thicken into a rich custard consistency while the cocoa butter and dairy fats melt completely into a glossy, warm liquid emulsion.
Why You’ll Love This Sweet Treat
- Instant Restaurant-Quality Elegance: It delivers a high-end restaurant experience using simple pantry staples in less than 30 minutes.
- The Ultimate Chocolate Hit: Packed with real melted baking chocolate rather than cocoa powder, it satisfies the deepest chocolate cravings.
- Effortless Single-Serve Portions: Baked in individual ceramic ramekins, it provides built-in portion control and an intimate dessert experience.
- Perfect for Advance Prep: You can scoop the raw batter directly into the ramekins and keep them in the refrigerator for up to 24 hours, baking them on demand when you are ready to serve.
Key Ingredients Overview
- High-Quality Bittersweet Baking Chocolate (60% to 70% Cacao): Avoid standard chocolate chips, which contain stabilizers that prevent a smooth liquid flow. Real baking bars melt down into a fluid, highly glossy lava stream.
- Unsalted European-Style Butter: Provides the essential fat base that liquefies beautifully when warmed, ensuring the molten center remains fluid and incredibly silky.
- Whole Eggs plus Extra Yolks: The whole eggs provide the structure needed to build the sturdy outer cake walls, while the extra yolks introduce natural lecithin to emulsify and enrich the liquid center.
- A Minimum Splash of Flour: Just enough flour is added to bind the egg proteins together into a delicate cake crumb, keeping the protein network light so the center remains fluid rather than bready.
Step-by-Step Instructions
1.The Non-Stick Ramekin Armor Setup:4 min.
Preheat your oven to 218°C (425°F). Using a pastry brush, coat the inside of four 6-ounce ceramic ramekins with melted butter, brushing upward from the bottom to the rim. Dust the inside of each ramekin with a teaspoon of unsalted cocoa powder, tilting to coat all sides evenly. Tap out any excess powder.
2.The Gentle Chocolate-Lipid Fusion Melt:5 min.
Chop your bittersweet baking chocolate into fine, uniform shards. Place the chopped chocolate and cubed unsalted butter into a heatproof glass bowl. Microwave in 30-second bursts, stirring thoroughly between each interval, until the mixture is completely melted, glossy, and smooth. Let it cool slightly.
3.The High-Volume Egg Ribbon Aeration:4 min.
In a medium bowl, combine your large whole eggs, extra egg yolks, granulated sugar, and a pinch of fine sea salt. Using an electric mixer on medium-high speed, beat for 3 to 4 minutes until the mixture triples in size, becoming thick, pale yellow, and leaves a flat ribbon on the surface when lifted.
4.The Velvet Liaison Batter Fold:2 min.
Gently pour the slightly cooled, melted chocolate-butter mixture into the whipped egg ribbon. Using a flexible rubber spatula, fold the two mixtures together gently using a figure-eight motion. Sift your all-purpose flour over the top and fold just until the flour disappears into a smooth, shiny batter. Do not over-mix!
5.The Even Ramekin Level Divide:2 min.
Divide the rich chocolate batter evenly among your four prepared ramekins, filling each one roughly three-quarters of the way to the top. Tap the ramekins firmly against the countertop once to pop any trapped large air bubbles.
6.The High-Heat Precision Baked Crust Chronology:13 min.
Place the ramekins onto a sturdy baking sheet and slide them onto the center rack of your preheated oven. Bake at 218°C (425°F) for exactly 11 to 13 minutes. Watch them closely: the edges should look completely firm, dry, and set, but the exact center top should still have a small, soft, slightly jiggly look.
7.The Thermal Equilibrium Counter Cool:2 min.
Remove the baking sheet from the oven. Let the ramekins sit undisturbed on the hot baking sheet for exactly 2 minutes. This crucial resting period allows the delicate outer cake walls to firm up just enough to support the weight of the molten center during the flip.
8.The Plate Inversion Unmolding Reveal:2 min.
Place an inverted dessert plate over the top of a hot ramekin. Wearing oven mitts, firmly grasp both the plate and the ramekin together and quickly flip them right-side up. Set the plate down and let it sit for 10 seconds, allowing gravity to release the cake. Gently lift the ceramic ramekin away to reveal a free-standing cake.
9.The Powdered Snow and Berry Crown:1 min.
Dust the hot cake lightly with powdered sugar through a fine-mesh strainer. Garnish immediately with fresh red raspberries and a large scoop of premium vanilla bean ice cream right next to the cake. Serve at once while the lava is perfectly molten.
Expert Tips for Success
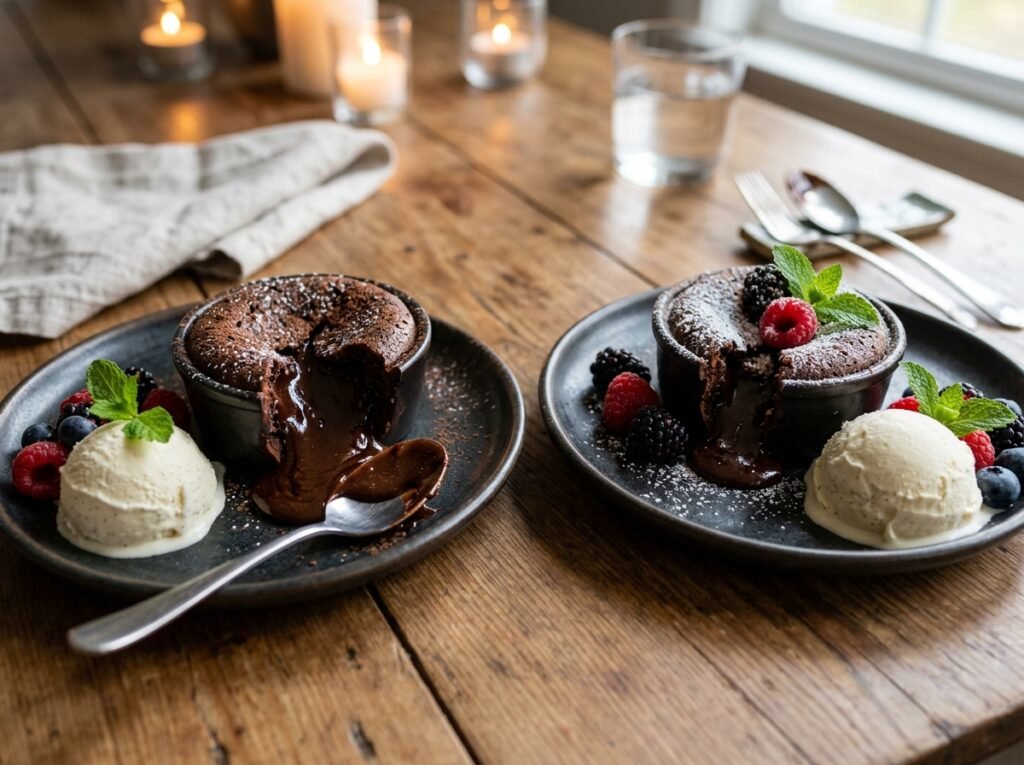
- The Chocolate Ganache Core Trick: If you are terrified of accidentally overbaking your cakes into solid muffins, use the ultimate pastry-chef insurance trick. Roll two small balls of pre-made chocolate ganache (made from equal parts melted chocolate and heavy cream) and chill them until solid. When filling your ramekins, drop one cold ganache ball directly into the center of the raw cake batter. Even if you overbake the main cake structure, the ganache core will stay liquid, guaranteeing a perfect lava flow every time.
- Never Substitute Cocoa Powder for Coating: When dusting the greased ramekins, always use unsalted cocoa powder instead of standard white flour. White flour will leave an ugly, chalky, greyish-white crust on the outside of your gorgeous dark chocolate cake once it is unmolded. Cocoa powder blends in seamlessly, keeping the exterior beautiful and intensely chocolatey.
- Calibrate Your Oven Temperatures: Lava cakes are incredibly sensitive to oven variations. If your oven runs cold, the cake walls won’t set in time, causing the cake to burst open and drain when flipped. If it runs too hot, it will cook the center through instantly. Use an inexpensive hook-on oven thermometer to verify your appliance is hitting a true 218°C (425°F) before baking.
The Recipe Card
- Prep Time: 15 mins
- Cook Time: 13 mins
- Rest Time: 2 mins
- Total Time: 30 mins
- Yield: 4 Individual Molten Cakes
Ingredients:
- The High-Gloss Chocolate Batter: 115g (4 oz) High-Quality Bittersweet Baking Chocolate (60% to 70% Cacao, finely chopped), 115g (½ cup) Unsalted Butter (cubed), 2 Large Whole Eggs + 2 Large Egg Yolks (room temperature), 50g (¼ cup) Granulated White Sugar, ⅛ tsp Fine Sea Salt, 30g (¼ cup) All-Purpose Flour.
- The Ramekin Prep & Garnish: 1 tbsp Melted Butter (for greasing), 2 tsp Unsweetened Cocoa powder (for dusting), Powdered Icing Sugar (for dusting), Fresh Raspberries, Vanilla Bean Ice Cream.
Instructions:
Preheat your oven to 218°C (425°F). Brush the inside of four 6-ounce ramekins with melted butter, moving in upward strokes, then dust thoroughly with cocoa powder, tapping out any excess. In a heatproof bowl, melt the chopped bittersweet chocolate and cubed butter together in the microwave in 30-second intervals until completely smooth. In a separate bowl, beat the whole eggs, extra yolks, sugar, and salt on high speed for 3-4 minutes until the mixture becomes pale yellow, thick, and forms ribbons. Gently fold the melted chocolate mixture into the whipped eggs using a spatula. Sift the flour over the top and fold lightly until just combined. Divide the batter evenly among the 4 ramekins. Bake for 11 to 13 minutes until the edges are firm and dry, but the very center top still jiggles slightly. Cool on the counter for exactly 2 minutes, then invert each ramekin onto a plate, let sit for 10 seconds, and lift the ramekin away. Dust with powdered sugar, add fresh berries and ice cream, and serve immediately.
