

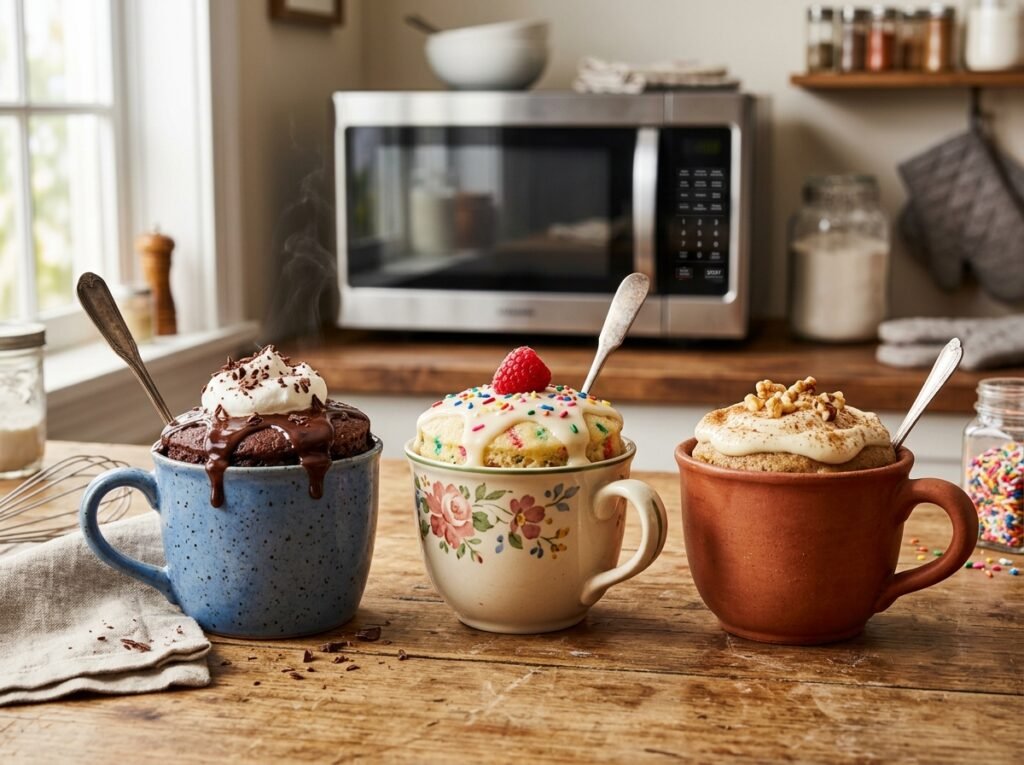
The Microwave Mug Cake is the ultimate shortcut for instant sweet tooth satisfaction. It bypasses the need for mixing bowls, cake pans, and oven preheating, delivering a warm, moist, and spongy cake cooked directly in your favorite coffee mug.
The secret to a perfect mug cake is preventing a rubbery texture. Traditional cakes rely on eggs for structure, but in a small-scale microwave bake, a whole egg adds too much protein and moisture, turning the cake into a sponge-like hockey puck. By eliminating the egg entirely and relying on a touch of oil and milk, you guarantee a melt-in-your-mouth, fudgy texture every single time.
Why You’ll Love This Recipe
- Lightning Speed: Goes from zero to a fully baked, steaming cake in exactly 60 seconds.
- Built-In Portion Control: Yields exactly one single serving, completely eliminating the temptation of a giant leftover cake.
- Minimal Cleanup: Mix, cook, and eat out of the exact same mug.
- Warm and Fudgy: It has a molten, lava-cake-adjacent center if cooked to a perfect medium-firm texture.
Key Ingredients Overview
- All-Purpose Flour: Provides the basic structural foundation for the cake crumb.
- Unsweetened Cocoa Powder: Delivers a deep, rich chocolate flavor. Use a high-quality Dutch-processed cocoa for an extra-smooth taste.
- Granulated Sugar: Sweetens the batter and helps keep the cake tender as it cooks.
- Vegetable Oil or Melted Butter: Essential for moisture. Oil keeps the cake soft and fluid under microwave heat, whereas butter adds a richer flavor.
- Chocolate Chips: These sink slightly and melt during the cooking process, creating gooey pockets of liquid chocolate.
Step-by-Step Instructions
- The Mug Selection: Choose a microwave-safe ceramic mug that holds at least 350ml (12 oz). The batter should fill no more than half the mug to give the cake room to rise without spilling over.
- The Dry Mix: Add the flour, sugar, cocoa powder, baking powder, and salt directly into the bottom of the mug. Whisk thoroughly with a small fork until completely combined and free of large cocoa lumps.
- The Wet Emulsion: Pour the milk and vegetable oil into the mug. Whisk gently with the fork until a smooth, thick cake batter forms. Make sure to scrape the bottom corners of the mug where dry flour loves to hide.
- The Gooey Pocket: Drop a handful of chocolate chips directly into the center of the batter. Do not stir them in completely; leaving them in a cluster creates a molten center.
- The Microwave Blast: Place the mug in the center of your microwave. Cook on high power for 50 to 60 seconds.
- The Rise Watch: The cake will expand rapidly and rise above the rim of the mug during the last 20 seconds. This is normal! It will deflate slightly once the heat stops.
- The Cool Down: Let the mug cake sit undisturbed for 2 minutes before eating. The residual heat finishes setting the center of the cake, and it prevents you from burning your tongue on the hot sugar.
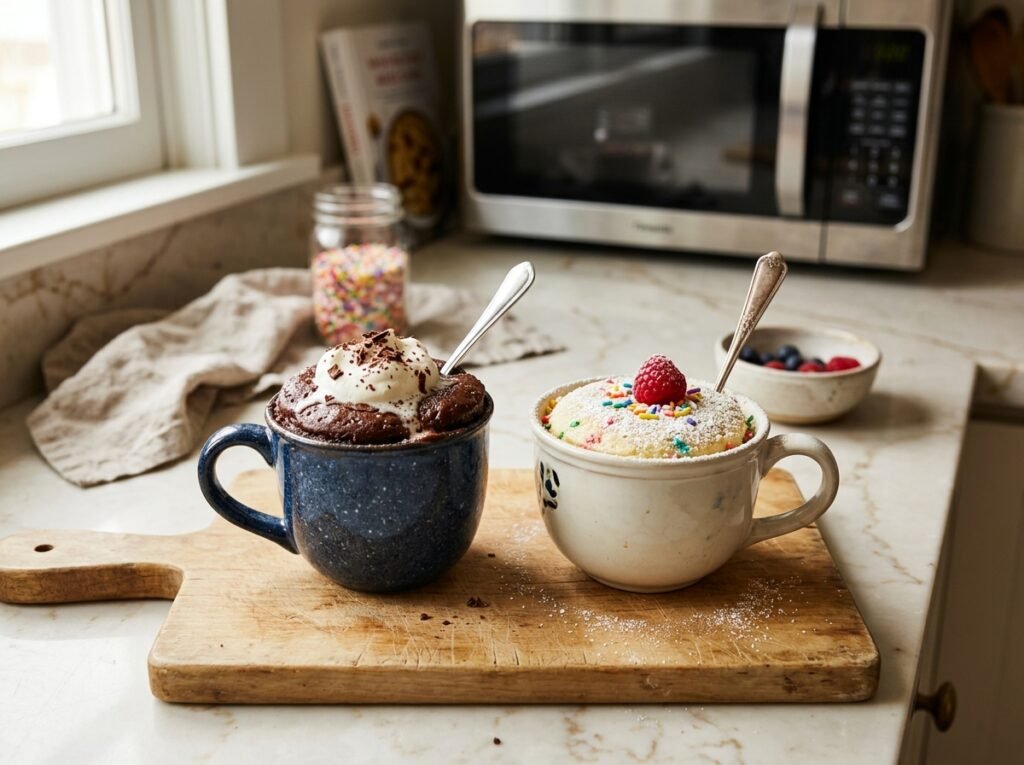
Expert Tips for Success
- Know Your Wattage: This recipe is timed for a standard 1000-watt microwave. If your microwave is a high-powered 1200-watt model, check the cake at 45 seconds. If it’s an 800-watt model, it might need 70 seconds.
- Don’t Overcook: A mug cake continues to cook for a minute after it leaves the microwave. It should look slightly wet and shiny in the absolute center when you stop the timer. If it looks totally dry on top, it will be dry to eat.
- The Splash of Water Trick: If your microwave tends to dry things out, drizzle a single teaspoon of water right onto the top center of the raw batter before popping it into the microwave. This creates extra steam.
Variations & Substitutions
- The Peanut Butter Center: Drop a large tablespoon of creamy peanut butter directly into the center of the batter right before microwaving for a peanut butter lava core.
- The Vanilla Berry Version: Omit the cocoa powder. Add an extra tablespoon of flour, a drop of vanilla extract, and fold in a handful of fresh white chocolate chips and raspberries.
- The Nutella Twist: Swirl a tablespoon of Nutella into the finished batter for an instant hazelnut-chocolate upgrade.
Storage & Preparation
- Serving: Eat directly out of the warm mug. Top with a scoop of cold vanilla ice cream, a dollop of whipped cream, or a dusting of powdered sugar.
- Longevity: Mug cakes are designed to be eaten immediately. They do not store well in the fridge, as the starches will crystallize and turn dense and hard within a few hours.
The Recipe Card
- Prep Time: 2 mins
- Cook Time: 1 min
- Total Time: 3 mins
- Yield: 1 Single Serving
Ingredients:
- 4 tbsp All-Purpose Flour
- 2 tbsp Granulated Sugar
- 1 tbsp Unsweetened Cocoa Powder
- ¼ tsp Baking Powder
- A tiny pinch of Salt
- 3 tbsp Whole Milk
- 1 tbsp Vegetable Oil (or melted butter)
- 1 tbsp Chocolate Chips
Instructions:
Whisk the flour, sugar, cocoa powder, baking powder, and salt directly inside a microwave-safe mug. Pour in the milk and vegetable oil, stirring with a fork until a smooth batter forms. Drop the chocolate chips into the center of the batter. Microwave on high power for 55–60 seconds. Let cool for 2 minutes before serving.
