

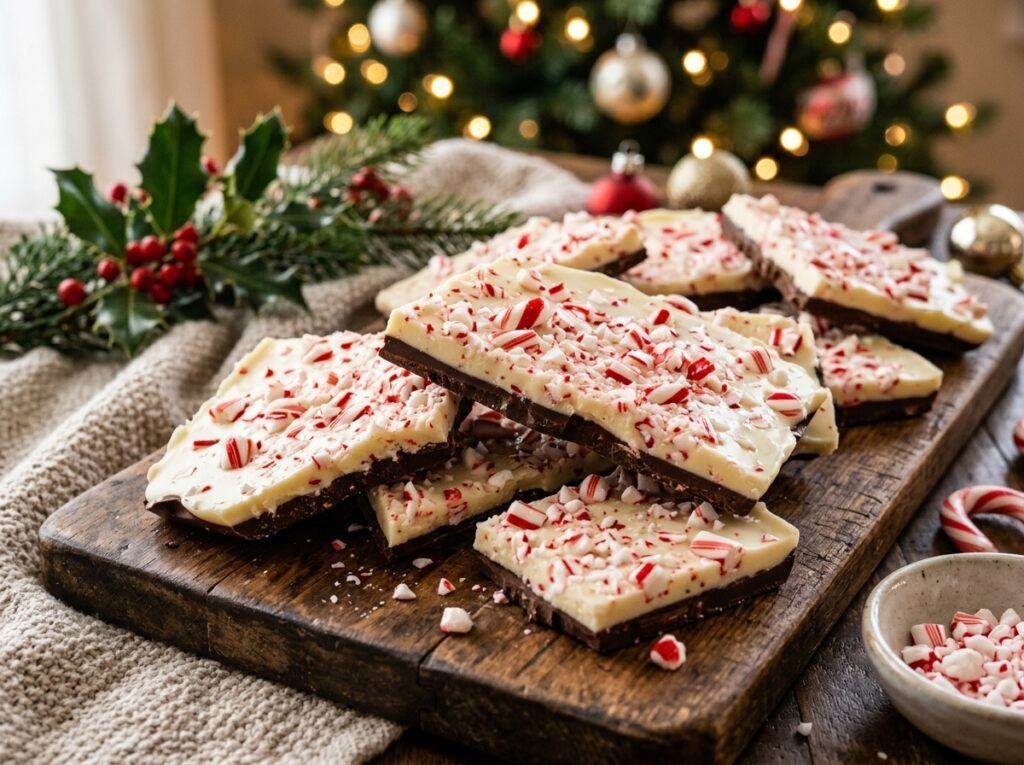
There is no treat that signals the start of the holiday season quite like Peppermint Bark. It is the ultimate exercise in simplicity and contrast: the deep, sophisticated bitterness of dark chocolate layered against the creamy, vanilla-scented sweetness of white chocolate. Topped with the refreshing, icy crunch of crushed candy canes, it is as beautiful to look at as it is to eat.
The secret to a professional-grade bark is the “snap.” When you break a piece, the layers should stay together perfectly, and the chocolate should have a glossy sheen. Whether you’re packaging it in tins for gifting or keeping a stash in the fridge, this Peppermint Bark is a festive essential.
Why You’ll Love This Recipe
- No-Bake Ease: No oven required—perfect for when your kitchen is busy with other holiday roasts.
- Textural Balance: Silky smooth chocolate meets the sharp, festive crunch of peppermint candy.
- The Perfect Gift: Looks incredibly high-end when broken into rustic, jagged shards and tied with a red ribbon.
- Kid-Friendly: Crushing the candy canes is a great way for little helpers to get involved in the holiday prep.
Key Ingredients Overview
- High-Quality Chocolate: Since there are so few ingredients, the quality of your chocolate matters. Use bars with at least 60% Cocoa for the dark layer and a white chocolate that contains Cocoa Butter (avoid “candy melts” for the best flavor).
- Peppermint Extract: Adding a tiny drop to the chocolate layers enhances the cooling sensation and ties the flavors together.
- Candy Canes: Fresh peppermint candy canes provide the iconic red-and-white aesthetic and the necessary “zing.”
- Coconut Oil (Optional): A teaspoon mixed into the chocolate helps create a smoother pour and a cleaner snap once chilled.
Step-by-Step Instructions
- The Crush: Place your candy canes in a heavy-duty zip-top bag. Use a rolling pin or a heavy pan to crush them into a mix of fine dust and small, crunchy chunks.
- Melt the Dark Layer: Gently melt your dark chocolate (either in a double boiler or the microwave in 30-second bursts). Stir in a drop of peppermint extract.
- The First Pour: Pour the dark chocolate onto a parchment-lined baking sheet. Spread it into an even rectangle about 5mm thick. Tap the tray on the counter to level it out.
- The Partial Set: Place the tray in the fridge for about 10–15 minutes. You want the chocolate to be firm to the touch but not rock-hard—this ensures the layers bond together instead of sliding apart later.
- Melt the White Layer: Repeat the melting process with the white chocolate. Be extra careful here; white chocolate burns faster than dark!
- The Second Pour: Gently pour the white chocolate over the dark layer. Use an offset spatula to spread it quickly and carefully so you don’t melt the layer beneath.
- The Garnish: Immediately sprinkle the crushed peppermint over the wet white chocolate. Press down very lightly with your palms to make sure the candy sticks.
- The Final Chill: Refrigerate for at least 1 hour until completely solid.

Expert Tips for Success
- The “Layer Bond” Secret: If the dark chocolate is too cold when you add the white chocolate, the layers will separate when you try to break it. If it’s too warm, the colors will swirl. Aim for that “just-set” tacky texture.
- Avoid Water: Even a single drop of water in your melting chocolate will cause it to “seize” and become a clumpy mess. Ensure all your bowls and spatulas are bone-dry.
- Sharp Shards: For a modern look, use a heavy chef’s knife to cut the bark into clean triangles. For a rustic look, simply use your hands to snap it into irregular pieces.
Variations & Substitutions
- Double Peppermint: Use peppermint-flavored chocolate bars for an even more intense minty experience.
- White & Pink: Add a tiny drop of red food coloring to a portion of the white chocolate and swirl it with a toothpick for a marbled effect.
- Dark & Salty: Add a tiny sprinkle of flaky sea salt between the dark and white layers to cut through the sweetness.
Storage & Serving
- Serving: Serve chilled on a festive platter. It’s the perfect accompaniment to hot cocoa or a peppermint mocha.
- Fridge: Store in an airtight container in the fridge for up to 3 weeks.
- Gifting: Keep the bark cool until the moment you gift it. If it sits in a warm car or near a heater, the layers may soften and lose their “snap.”
The Recipe Card
- Prep Time: 20 mins
- Chilling Time: 1 hour 15 mins
- Total Time: 1 hour 35 mins
- Yield: Approx. 500g of Bark
Ingredients:
- 250g Dark Chocolate (60-70% cocoa), chopped
- 250g White Chocolate, chopped
- 1/2 tsp Peppermint Extract (divided)
- 6–8 Standard Candy Canes, crushed
- 2 tsp Coconut Oil (optional, 1 tsp per layer)
Instructions:
Melt dark chocolate with 1/4 tsp peppermint extract and spread on parchment paper; chill for 10–15 mins. Melt white chocolate with remaining extract and spread over the dark layer. Immediately top with crushed candy canes. Chill for 1 hour until firm. Snap or cut into pieces and store in a cool place.
