

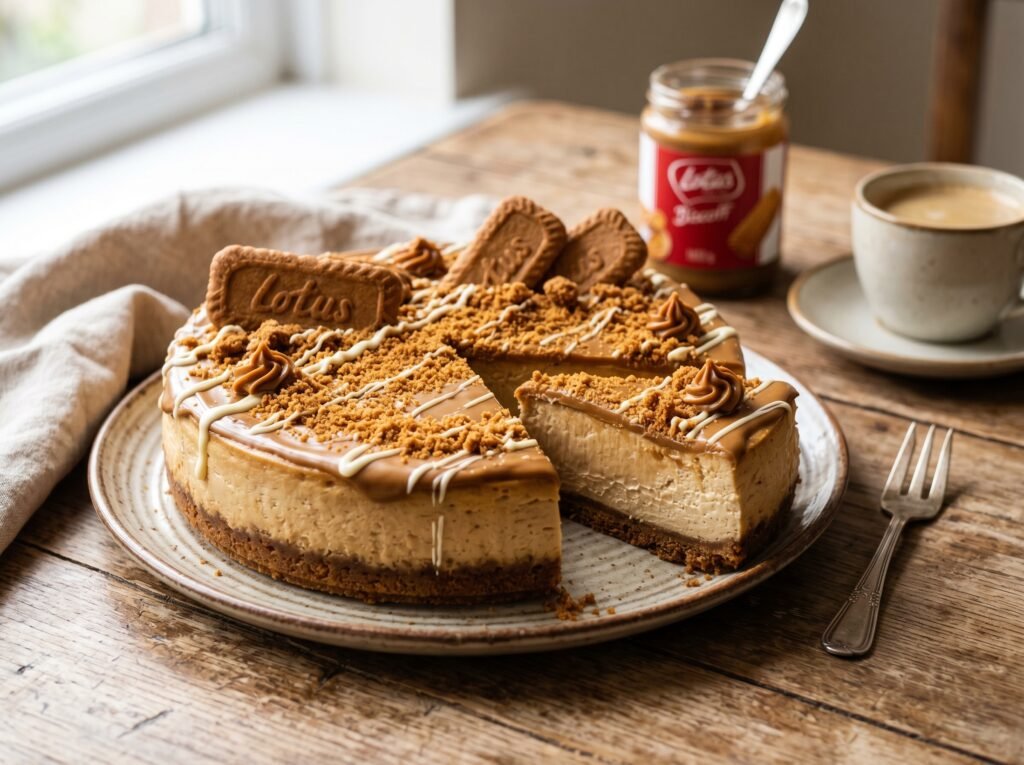
Baking a traditional round cheesecake is a masterclass in culinary anxiety. Between wrapping springform pans in layers of foil, balancing them in a precarious hot water bath, and praying the top doesn’t split down the middle like a canyon, it can be an exhausting ordeal. This Sheet Pan Lotus Biscoff Cheesecake strips away all that fuss. By spreading the batter into a wide, flat rectangular baking pan, you bypass the water bath completely. The thin layer bakes quickly and evenly, yielding ultra-creamy, velvety squares packed with the warm, spiced, speculoos cookie flavor that has taken the dessert world by storm.
The main obstacle when making a Biscoff cheesecake is balancing the heavy, sweet, caramelized spice of the cookie butter so it doesn’t overwhelm the dessert. Cookie butter is dense, and if you simply swirl it into a standard heavy cheesecake batter, it can become cloying after two bites. To master this, we use a triple-threat architecture. We build a hyper-crisp base using crushed cinnamon-spiced Biscoff cookies, pour over an airy cream cheese filling subtly infused with melted cookie butter, and top the entire baked slab with a thin, smooth layer of pure melted Biscoff spread. This creates distinct texture layers that melt together beautifully, balanced by the natural tang of cream cheese and sour cream.
Why You’ll Love This Method
- Absolutely No Water Bath: The shallow depth of a sheet pan allows the heat to penetrate the center of the cheesecake quickly, ensuring an even bake without needing a steamy water jacket.
- Flawless, Crack-Free Surface: Because it cooks in nearly half the time of a deep round cake, the batter doesn’t over-expand or experience the drastic temperature drops that cause cracking.
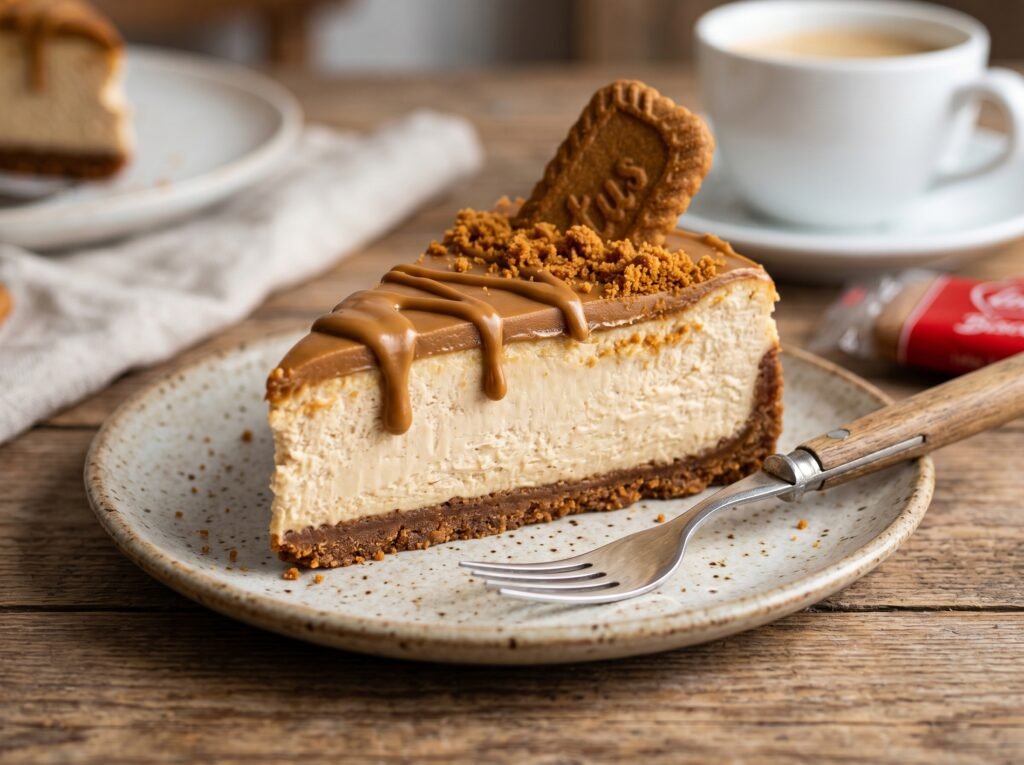
- The Beautiful Mirror Glaze: Pouring warmed, liquid Biscoff spread over the chilled cheesecake creates a perfectly smooth, glossy top layer that sets into a stunning bakery-quality finish.
- Effortless Party Slicing: Unlike a round cake where the first slice always collapses, a rectangular sheet pan allows you to cut crisp, clean, bite-sized dessert bars perfect for crowds.
Key Ingredients Overview
- Lotus Biscoff Cookies: These iconic Belgian speculoos biscuits are deeply caramelized and heavily spiced with cinnamon, nutmeg, and ginger. Crushed fine, they form a sturdy, aromatic crust that beats a basic graham cracker crust any day.
- Brick Cream Cheese: You must use full-fat cream cheese in solid bricks, not the spreadable tub variety from the dairy aisle. Tub cream cheese contains extra water and air, which will make your sheet pan filling runny and unstable.
- Sour Cream: Adding a splash of full-fat sour cream introduces a necessary hit of lactic acid. This tanginess breaks through the rich, heavy profile of the cream cheese and the sweet cookie butter.
- Lotus Biscoff Spread (Smooth): This is literally jarred, spreadable cookie magic. We melt it gently in the microwave so it liquefies into a pourable glaze for the top layer.
Step-by-Step Instructions
1.The Low-and-Slow Oven Warm:3 min.
Preheat your oven to 160°C (325°F). Line a 9×13 inch rimmed baking pan (or a quarter-sheet pan) with parchment paper, leaving a 2-inch overhang on the long sides to act as your lifting handles later.
2.The Spiced Speculoos Crust Press:5 min.
Pulse your Biscoff cookies in a food processor until they form fine crumbs. Transfer to a bowl, add the melted unsalted butter and a pinch of salt, and stir until it feels like wet sand. Dump the crumbs into your lined pan and press them firmly into an even, solid layer using the flat bottom of a drinking glass.
3.The Blind Crust Bake:8 min.
Bake the naked cookie crust for 8 minutes just until it smells intensely fragrant and toasted. Remove the pan from the oven and let it cool completely on a wire rack while you prepare the filling. (Skipping this par-bake results in a soggy, crumbling base).
4.The Lump-Free Cream Shield Mix:5 min.
In a large bowl, beat your room-temperature cream cheese and granulated sugar together using an electric mixer on medium speed for 3 minutes until completely smooth and fluffy. Scrape down the sides of the bowl aggressively to ensure no hidden lumps remain.
5.The Sour Cream and Cookie Butter Swirl:3 min.
Add the sour cream, vanilla extract, and 3 tablespoons of slightly warmed, fluid Biscoff spread to the bowl. Beat on low speed until combined. Add the room-temperature eggs one at a time, mixing just until the yellow disappears. Over-mixing the eggs traps excess air, causing the cheesecake to puff up and sink like a soufflé.
6.The Gentle Sheet Pan Bake:35 min.
Pour the smooth batter over your cooled cookie crust, smoothing the top with a spatula. Bake at 160°C (325°F) for 30 to 35 minutes. Pull the pan out when the edges are set but the center still retains a slight, uniform jiggle when the pan is tapped.
7.The Cool and Glossy Glaze Mirror:4 hr.
Let the cheesecake cool to room temperature in the pan, then chill in the fridge for 2 hours. Warm your remaining jar of Biscoff spread in the microwave for 30 seconds until fluid. Pour it directly over the cold cheesecake, tilting the pan so it coats the surface in a smooth mirror layer. Return to the fridge for 2 more hours to fully set before slicing.
Expert Tips for Success
- Room Temperature is Non-Negotiable: If you attempt to blend cold cream cheese and cold eggs, the fat will seize up into tiny, stubborn beads. Your batter will look like cottage cheese, and those lumps will remain visible after baking. Set your ingredients on the counter for at least an hour before mixing.
- Wipe the Knife Between Every Single Cut: To get those flawless, sharp, restaurant-style squares, don’t just saw through the cake. Fill a tall glass with hot water. Dip a long, sharp knife into the water, wipe it completely dry with a towel, make one clean slice pressing straight down, and repeat the wash-and-wipe process for every single cut.
- Don’t Over-Bake the Center Jiggle: Because a sheet pan cheesecake is thin, it finishes cooking very quickly. The edges should look slightly matte and set, but the center 3 inches should still wobble like gelatin when shaken. It will firm up into a dense, creamy texture as it chills in the refrigerator.
The Recipe Card
- Prep Time: 20 mins
- Cook Time: 35 mins
- Chilling Time: 4 hrs
- Total Time: 4 hrs 55 mins
- Yield: 16 to 20 Cheesecake Bars
Ingredients:
- The Crust: 250g (approx. 30 biscuits) Lotus Biscoff Cookies, 70g (5 tbsp) Unsalted Butter (melted), pinch of salt.
- The Filling: 680g (3 blocks / 24 oz) Brick Cream Cheese (fully softened), 150g (¾ cup) Granulated White Sugar, 120g (½ cup) Full-Fat Sour Cream, 1 tsp Pure Vanilla Extract, 3 tbsp Lotus Biscoff Spread (melted), 3 Large Eggs (room temperature).
- The Topping: 200g (approx. ¾ cup) Smooth Lotus Biscoff Spread, 3-4 extra Biscoff cookies (crushed, for decoration).
Instructions:
Preheat oven to 160°C (325°F) and line a 9×13 inch metal baking pan with parchment paper. Crush the cookies into fine crumbs, mix with melted butter and a pinch of salt, then press firmly into the bottom of the pan. Bake the crust for 8 minutes, then remove to cool. In a large bowl, beat the softened cream cheese and sugar until creamy and free of lumps. Mix in the sour cream, vanilla, and 3 tablespoons of melted Biscoff spread. Add the eggs one at a time on low speed, mixing just until combined. Pour the batter over the crust and bake for 30 to 35 minutes until the edges are set but the center still jiggles slightly. Cool to room temperature, then chill for 2 hours. Melt the topping Biscoff spread in the microwave until fluid, pour over the cold cheesecake, smooth it out, and chill for an additional 2 hours before slicing.
