

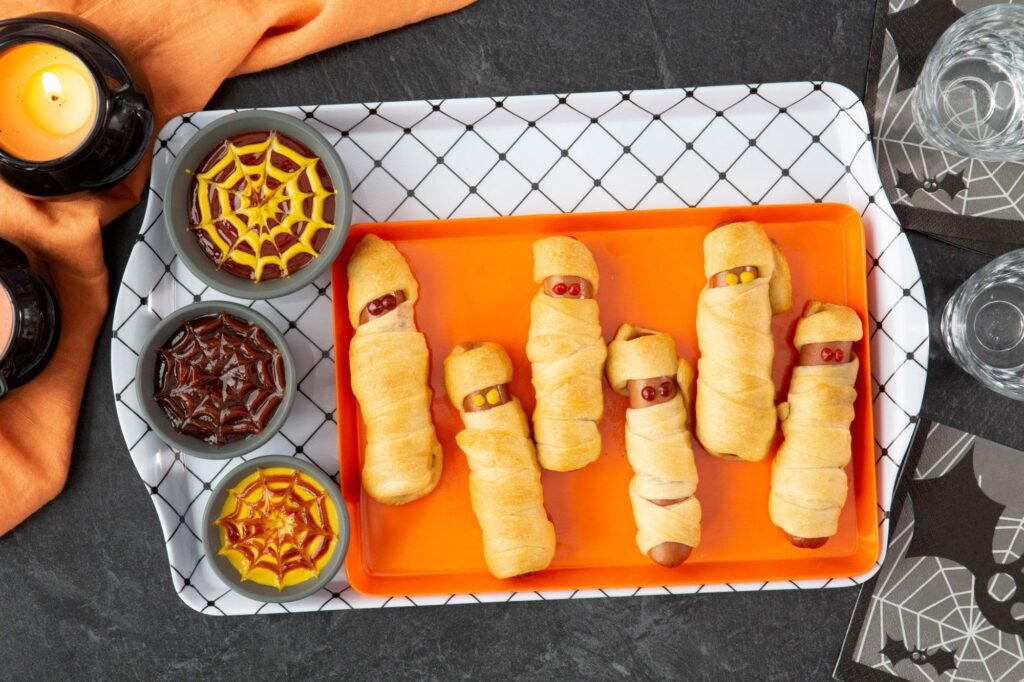
The Cutest & Easiest Halloween Dinner Kids Will Beg For!
Get ready for the spookiest (and tastiest) twist on pigs in a blanket! These Homemade Mummy Hot Dogs wrap juicy hot dogs in flaky crescent roll “bandages” with peeking googly eyes that scream Halloween fun.
They’re the ultimate kid-friendly dinner or party snack—ready in under 30 minutes, super simple to make (even little hands can help wrap!), and guaranteed to disappear faster than candy on trick-or-treat night. No fancy tools, just pure spooky magic!
:strip_icc()/mummy-hot-dog-ce895911-2000-8544578d98f04e2095f7c5eb30248ee6.jpg)
Why You’ll Love This Recipe
- Only 4 main ingredients (plus optional eyes & cheese)
- Kid-approved & fun to assemble together
- Ready in 25-30 minutes from start to “BOO!”
- Perfect for Halloween dinner, lunchboxes, or party platters
- Customizable: cheesy inside or classic plain
- That dramatic mummy reveal when you bite in!
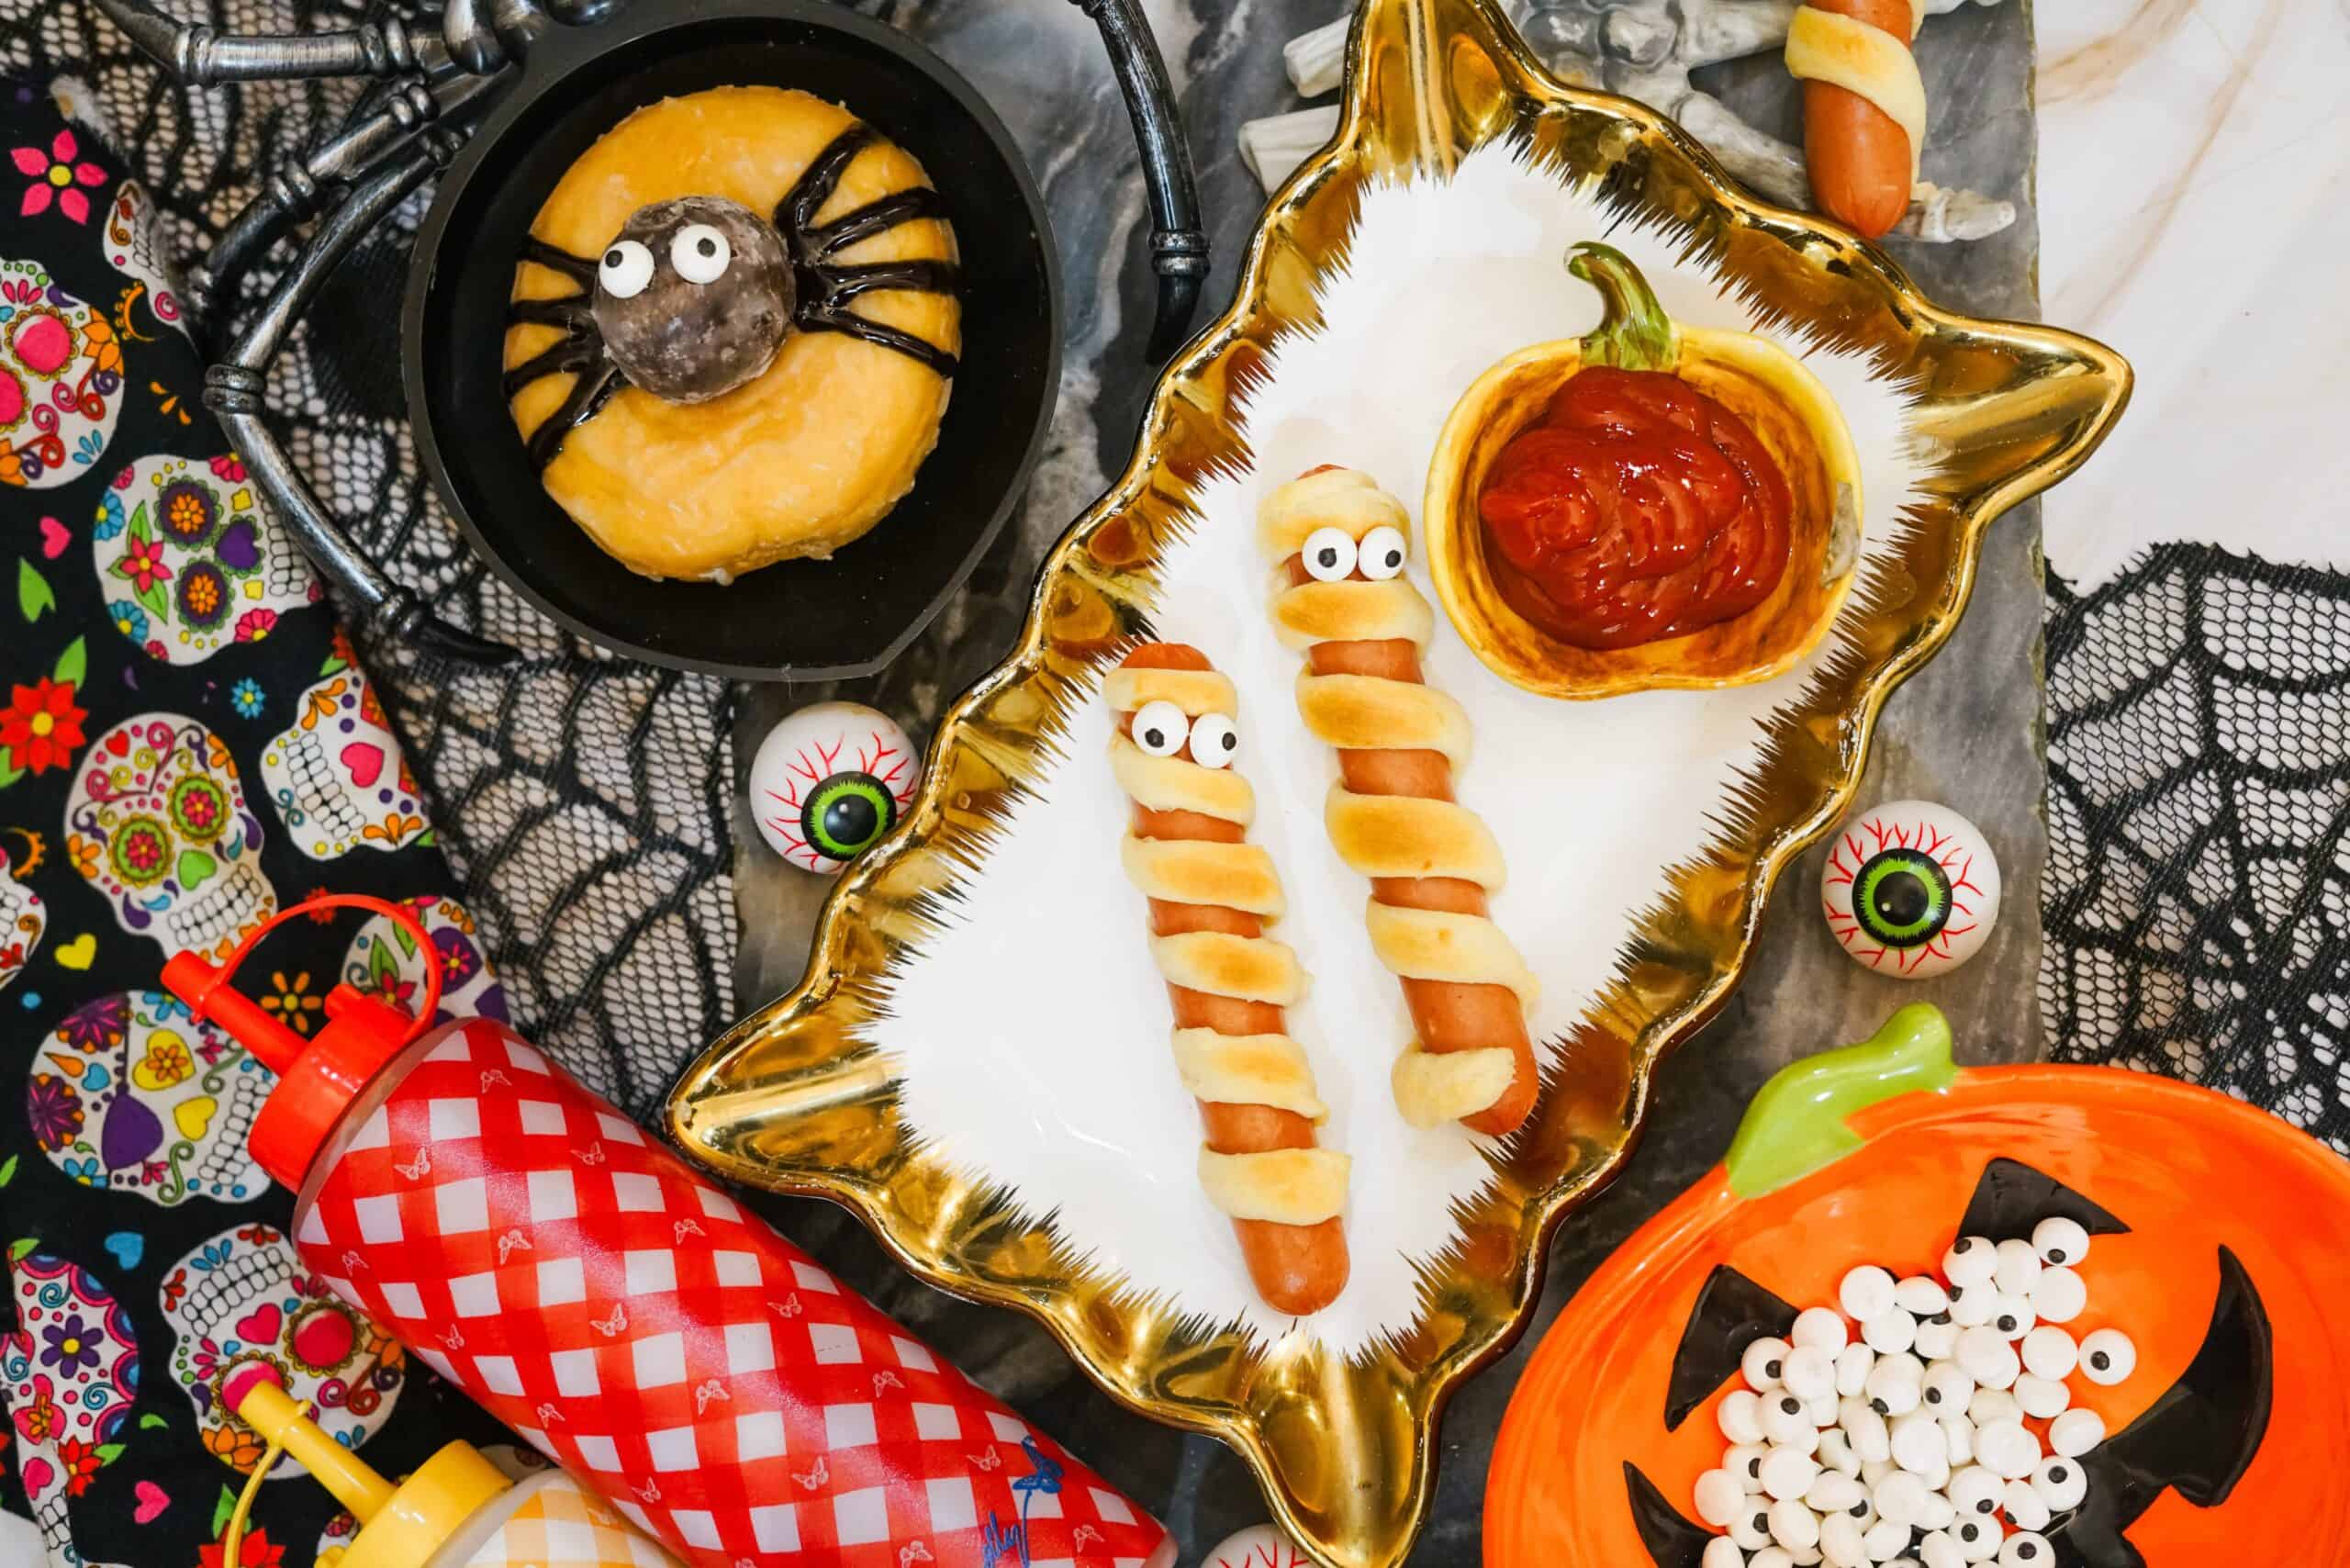
Mummy Hot Dogs: A Fun & Easy Halloween Dinner Recipe – The Benson Street
Ingredients (Makes 8-10 Mummy Hot Dogs)
- 1 can (8 oz) refrigerated crescent roll dough (or crescent dough sheet for easier strips)
- 8-10 hot dogs (your favorite brand—beef, turkey, or veggie work great!)
- Cooking spray (or melted butter for extra golden shine)
- Mustard, ketchup, or candy googly eyes for the spooky faces
Optional but extra fun:
- 2-3 slices American or cheddar cheese, quartered (for a melty surprise inside)
- Extra ketchup + mustard for spiderweb dipping sauce
Step-by-Step Instructions
- Preheat & Prep Preheat oven to 375°F (190°C). Line a baking sheet with parchment paper or lightly spray with cooking spray.
- Unroll & Cut the Bandages Unroll the crescent dough. If using rolls, press perforations to seal into rectangles. Cut into thin strips (about ¼–½ inch wide) with a pizza cutter or knife. You’ll need 4-6 strips per hot dog.
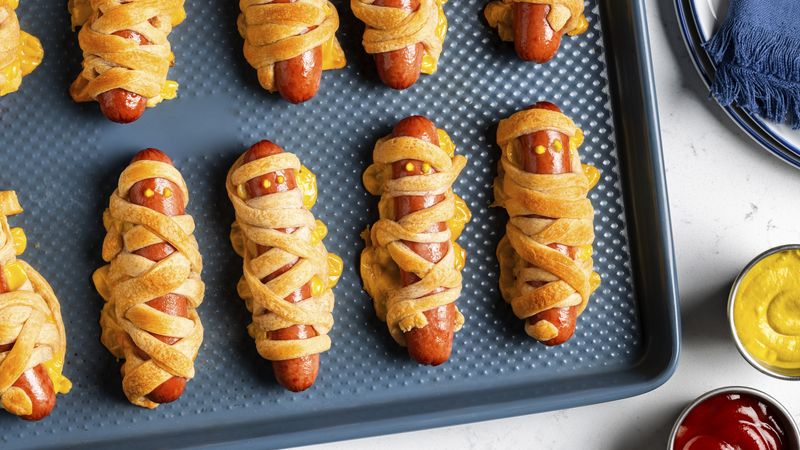
Crescent Mummy Dogs
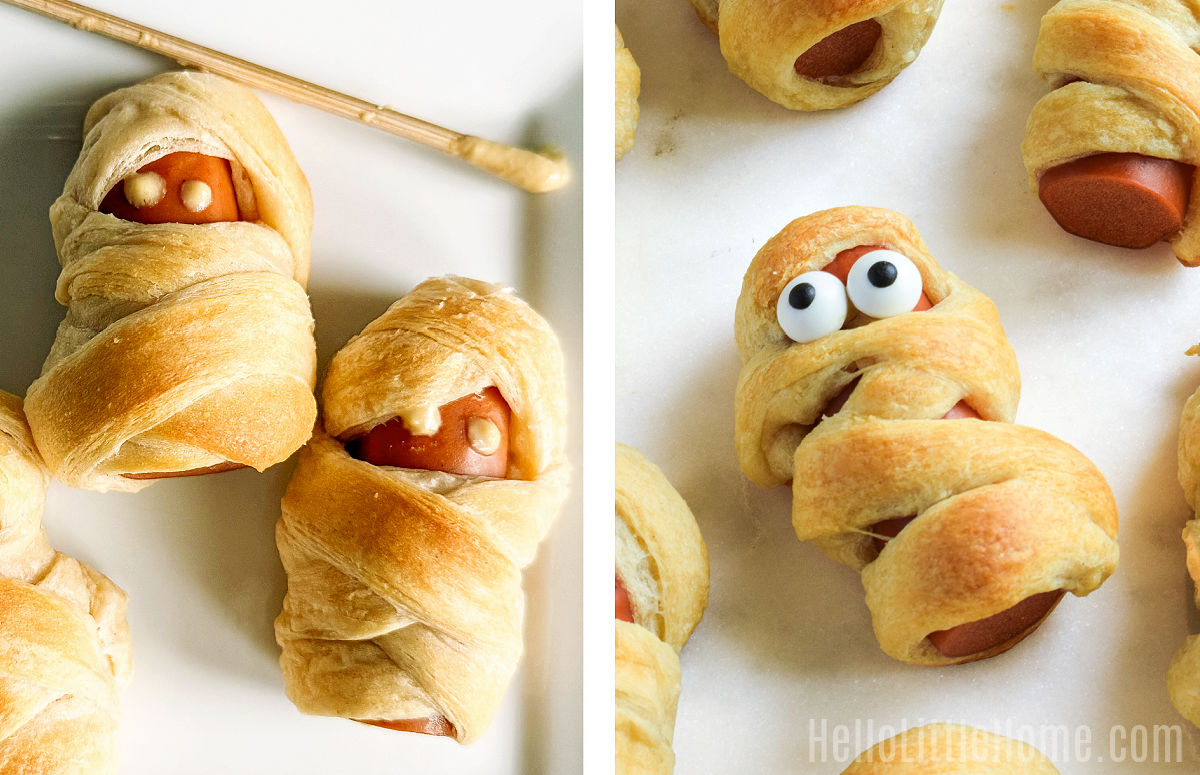
- Wrap Your Mummies Pat hot dogs dry with a paper towel (helps dough stick!). Optional: Place a piece of cheese on each hot dog first. Wrap dough strips around each hot dog like messy mummy bandages—overlap and crisscross, but leave a small gap near one end for the face. Stretch dough slightly as you go. Don’t cover completely! Place on the prepared baking sheet.
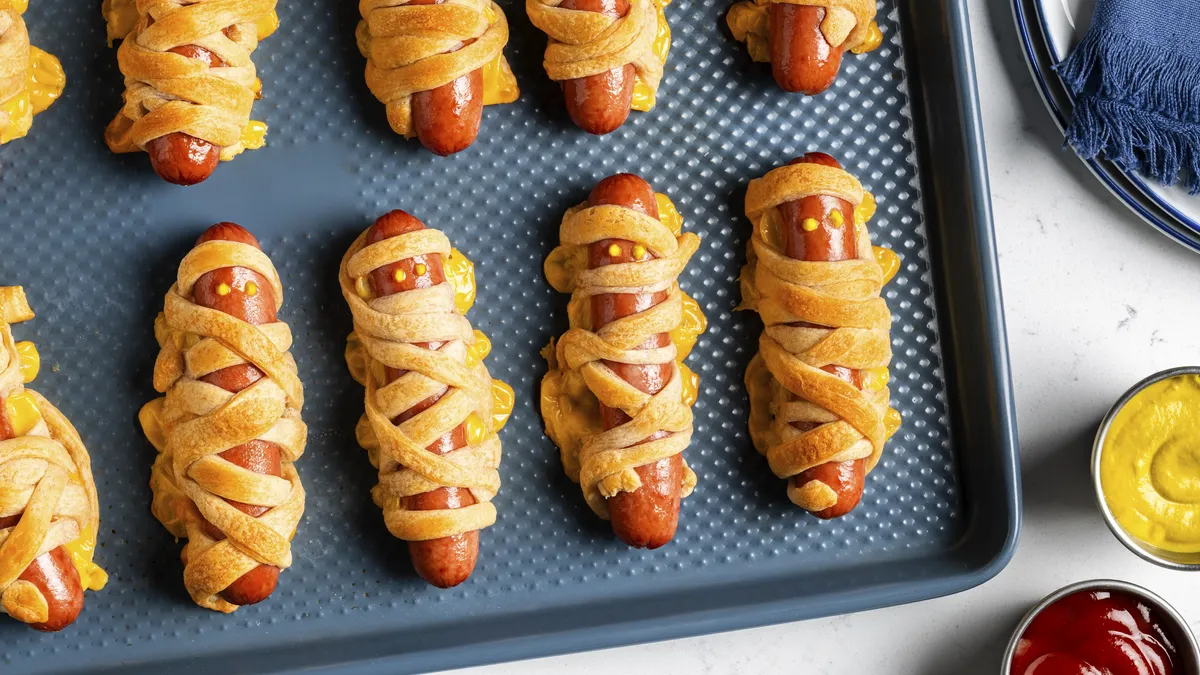
Crescent Mummy Dogs
- Bake to Golden Perfection Bake 12-15 minutes until the dough is puffed and golden brown. The hot dogs will be hot and juicy!
- Add the Eyes & Serve Let cool 1-2 minutes. Add two dots of mustard (or ketchup) for eyes—or press on candy googly eyes while warm. Serve immediately for maximum spooky cuteness!
Spooky Serving Suggestions (Pinterest-Worthy!)
- Classic: Ketchup “blood” + mustard for dipping
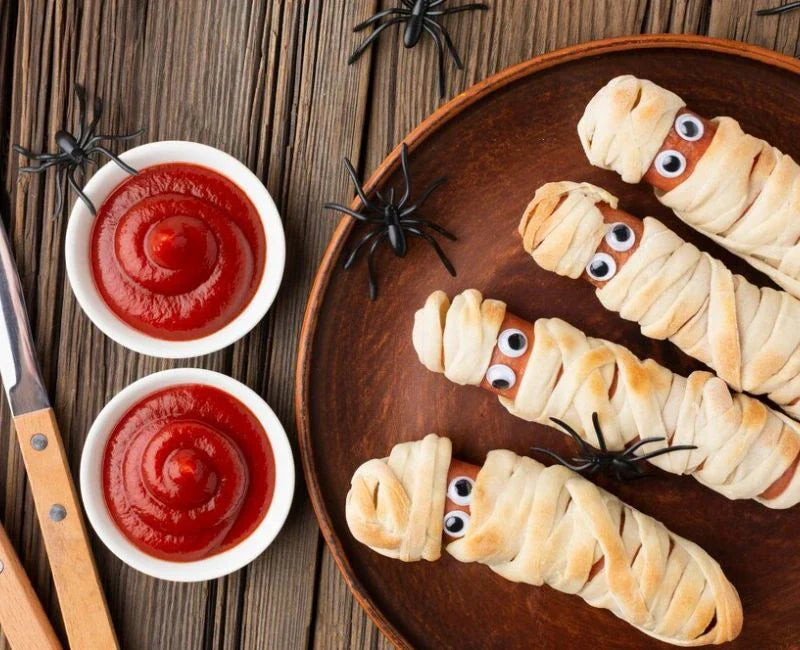
- Extra Spooky: Spiderweb sauce—spread ketchup on a plate, drizzle mustard in circles, then drag a toothpick from center outward
- Party Platter: Arrange on a black platter with plastic spiders, candy eyes, and jack-o’-lanterns
- Side Ideas: Carrot “fingers,” apple slices with peanut butter “witches’ hats,” or spooky spiderweb cupcakes
Mummy Hot Dog
Pro Tips for Mummy Success
- Don’t over-wrap—gaps make them look authentically mummified!
- Pat hot dogs dry for better dough grip.
- Use dough sheets if you can find them (less sealing hassle).
- Make ahead: Wrap and refrigerate up to 4 hours before baking (add 1-2 minutes to bake time).
- Gluten-free? Swap crescent dough for gluten-free puff pastry strips.
- Want cheese pull? Tuck cheese inside before wrapping.
- Candy eyes vs. mustard: Candy for parties (less messy), mustard for quick & classic.
There you have it—Spooky Halloween Mummy Hot Dogs that are almost too cute to eat (but you totally will)!
These are a Halloween tradition in our house and always the first thing gone at parties. Who’s making these with their little monsters this year?
Pin it now, wrap ’em up later, and watch the smiles (and screams of delight) roll in!
